Managing users and events in Kentico 9
Kentico users consist of Q_Community panellists and administrative users. There are various types of administrative users; in particular Global Administrators have all permissions and access to all sites, and Editors have access to the administration interface and on-site editing mode for specific sites.
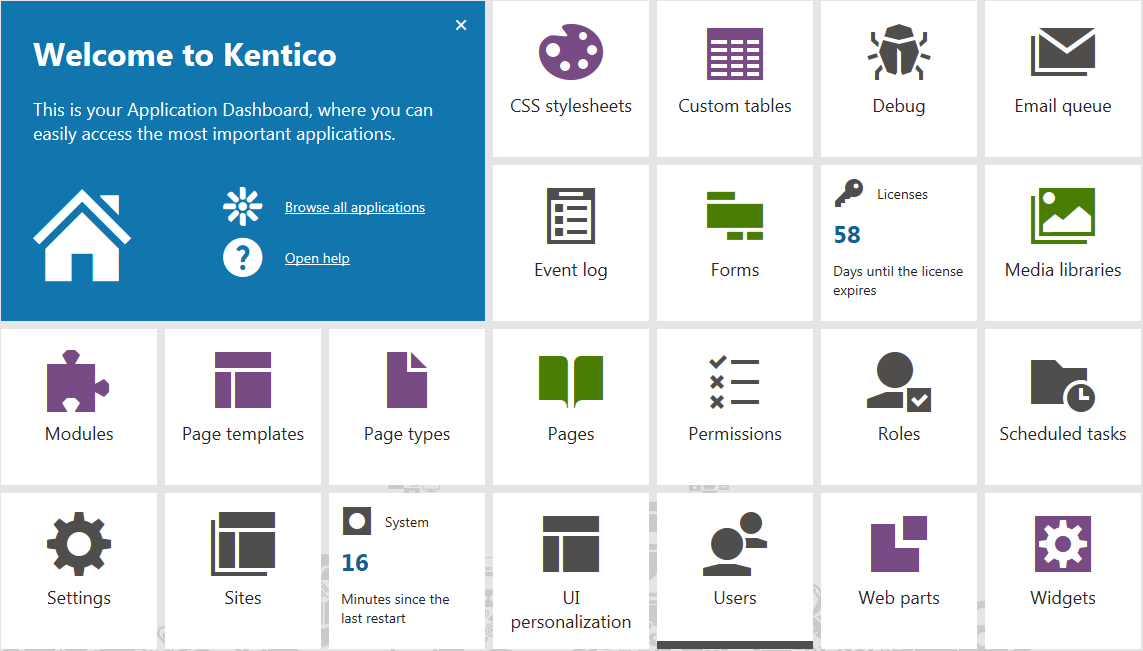
Select the Users application from the dashboard, or from the Configuration application group.
The Users page will be displayed.
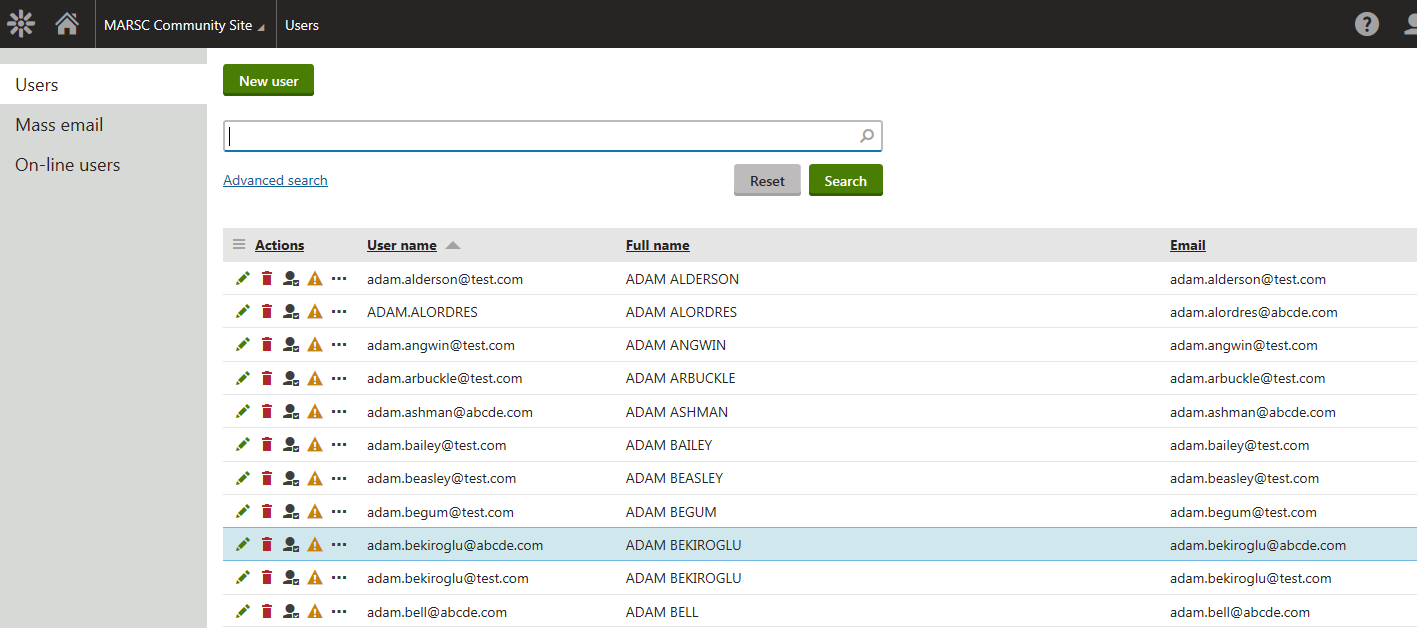
By default, all users are displayed alphabetically by User Name.
Sort users by clicking on any of the column headers – Full Name, E-mail, Created or Enabled.
A search tool is also provided that will search for the entered string by User Name, Full Name or E-mail. An advanced search tool is also provided.
The Enabled column shows whether users are enabled or disabled (you may need to scroll to the right to see this). Users that are enabled will be able to log onto the Q_Community website.
Users may be disabled for a number of reasons:
- they may not yet have completed registration (where the system uses the double opt-in registration process – see Security & Membership Settings);
- they may have been disabled by the panel manager (from either Kentico or Q_Panel/Panel Manager);
- they may be awaiting administrator approval (where the registration process requires this – see Security & Membership Settings).
Enabling and Disabling Users
Users can be enabled one at a time from the Users application by clicking on the Edit icon from the Actions column next to the user name. Details for the selected user will be displayed.

Click on the Enabled check box and press Save.
Similarly, to disable a user, un-tick the Enabled check box and press Save.
Q_Panel/Panel Manager may also be used to enable or disable panellists (referred to as activate and deactivate), and can be used to enable or disable multiple panellists at the same time. Panellists can only be enabled from Panel Manager if they have a password in Kentico.
Note that if a new panellist is enabled using Kentico or Panel Manager rather than by completing the registration process themselves, they will not be awarded points for completing registration.
Adding a User
It is not recommended that this method is used to add panellists onto the system.
To add a user click on the New User button from the Users application.

Enter the required user details and click on Save. Change the Privilege level to None or select another appropriate option if edit permission is not required.
The user will be created in Kentico and in Q_Panel, however new panellists should not be added onto the system this way.
Deleting a User
To delete a user click on Delete (X) from the Actions column next to the relevant user. You will be asked to confirm the deletion.

If OK is selected the user will be completely deleted from Kentico and from Q_Panel. All information relating to the user will disappear.
Passwords
From the Users page it can be seen that some users have a yellow warning triangle next to their details. This indicates that the user does not have a password set.
To set a password, or change a password click on the Edit icon from the Actions column next to the relevant user, then click on Password from the menu on the left.
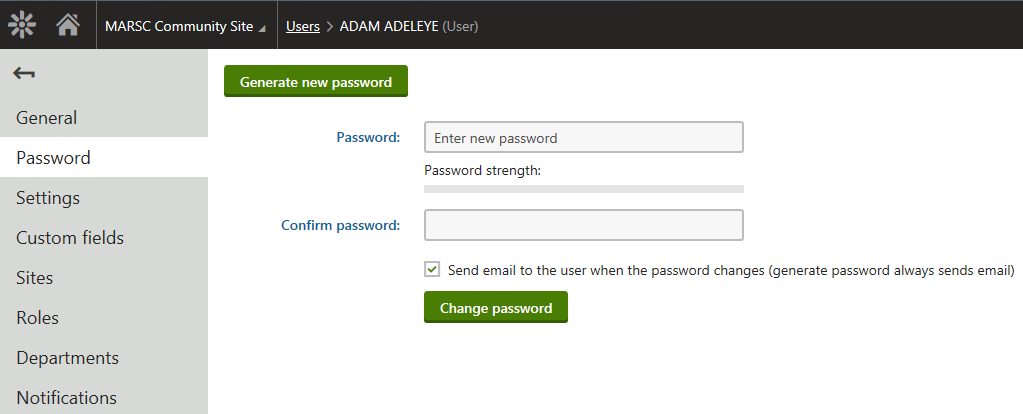
There are two ways of changing passwords:
Change Password
Allows you to manually enter a password for the user, before clicking on the Change Password button. The same password must be typed into both Password and Confirm password fields. If the Send e-mail to the user when the password changes check box is ticked then the user will be sent a confirmation email.
Generate New Password
Generates a new password which will be emailed to the user.
Users may also be able to change password themselves from Q_Community.
Event Log
The Event Log shows all login events and activities (amongst other events), and details of whether they were successful or not.
Select the Event Log application from the dashboard, or from the Configuration application group.

By default, all events will be displayed ordered by event time, but a search tool is also provided that will search for events using various search criteria which includes event type (Error, Information or Warning) and event time.
Events can also be sorted by clicking on any of the column headers.
To view more details of an event click on the Display Event icon next to the relevant event.
The Event Log can be displayed for all sites or for a specific site (depending o the privileges of the Kentico user).