Processing sample mailings
Once you have defined a sample mailing it will be saved and can be seen with a status of Draft on the Mailing screen. Before processing the mailing it is a good idea to send test emails to yourself and colleagues.

Test button
The Test button allows you to test the email prior to sending (or to send a copy to yourself as a record). This is useful because emails as received and interpreted by an email client may differ in detail from what was intended and may not be good enough to broadcast.
Click the Test button to get the Wave Test Send dialog:

The email batch name will default to the name of the mailing wave, and this will appear as the name in Email Queue Manager. You may want to change the description to help you identify it as a test job.
Enter up to five email addresses internal to your organisation who will receive the emails with the content exactly as the first five panellists in the mailing wave will be getting. Click Send to add this to the Email Queue.
Test emails can been seen in Email Queue Manager and Mailing Queue Manager, but a sample will not show a tick in the Emailed column of the Samples screen until a real mailing wave is sent to the Email Queue for processing.
Send button
When you are happy with your email and ready to send, click on the Send button.
The Schedule Email Send dialog will open where you can enter a description of the email and choose a priority, date and time.
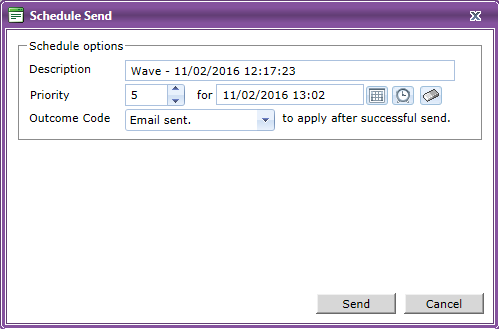
The description will default to the name of the mailing wave, this will be used as the email batch name and will appear as the name in Email Queue Manager.
If you want an outcome code applied for each email successfully sent then select the required outcome code from the dropdown list. (Note that the Backfeed service must be running to process the outcome codes). If you do not want an outcome code applied select No Change from the dropdown list.

The default Sent Email outcome code is defined using Setting Manager from the Maintenance menu. Select Communication from the Category drop down list to see the default setting for your installation. The default can be changed by selecting a different outcome code. Note that only ‘Out for Interview’ outcome codes can be selected.
You can also create additional outcome codes, for example to use for reminder emails. New outcome codes can be created using Outcome Code Manager.
Press Send to put the email job onto the Email Queue. Q_Panel will then submit the mailing wave to be sent to all recipients with valid email addresses.

A message will be displayed to tell you that the emails are being processed, and the sample mailing screen will be updated to show the mailing wave with status Queued.

The Emailed column on the Samples screen will now show a tick alongside the sample name.
The Send progress of the email job can be tracked using Email Queue Manager and completed email jobs can also be viewed in Mailing Queue Manager. (Both of these can be found in the Administration menu).
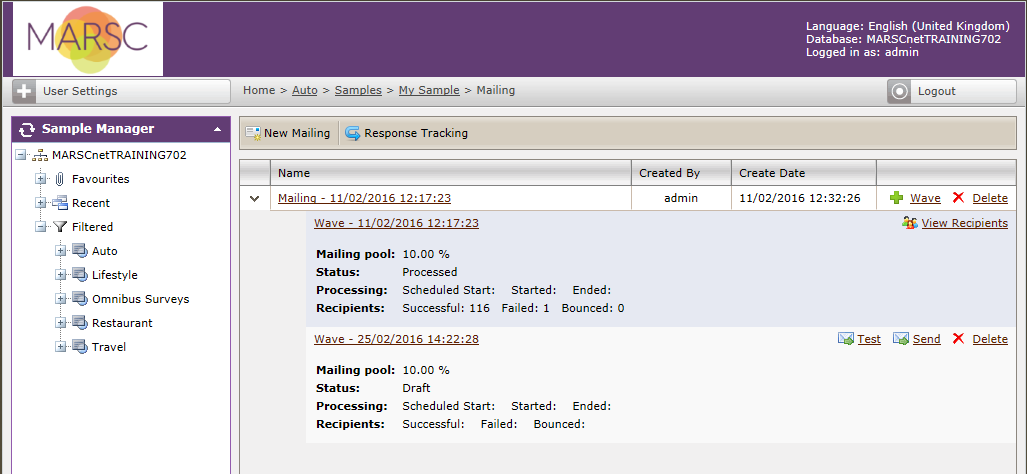
When the mailing wave has been processed, the sample mailing screen will be updated to show the mailing wave status as Processed.

In v7.04 the Processing Started and Ended date and time will also be displayed.
This information can also be viewed from Mailing Manager.
Add Mailing Waves

To send emails to another random 10% of the panellists in the mailing, click on the Add Wave button.
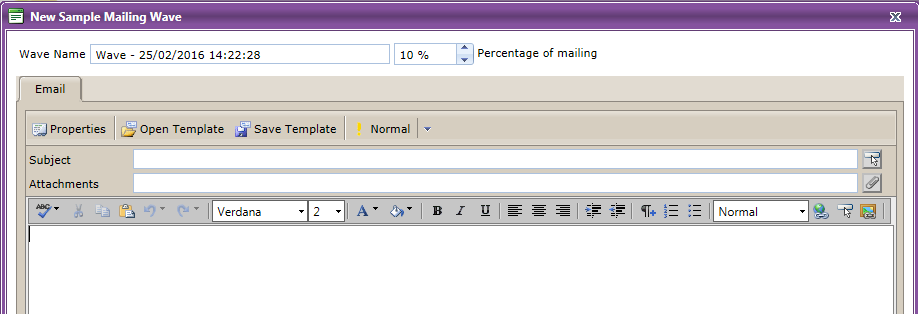
The New Sample Mailing Wave screen will appear. Enter the wave name and the percentage of emails required, create the email from scratch or use an existing template, and click on OK to save.
The new mailing wave will be added to the mailing screen with a status of Draft.
Follow-up Mailings
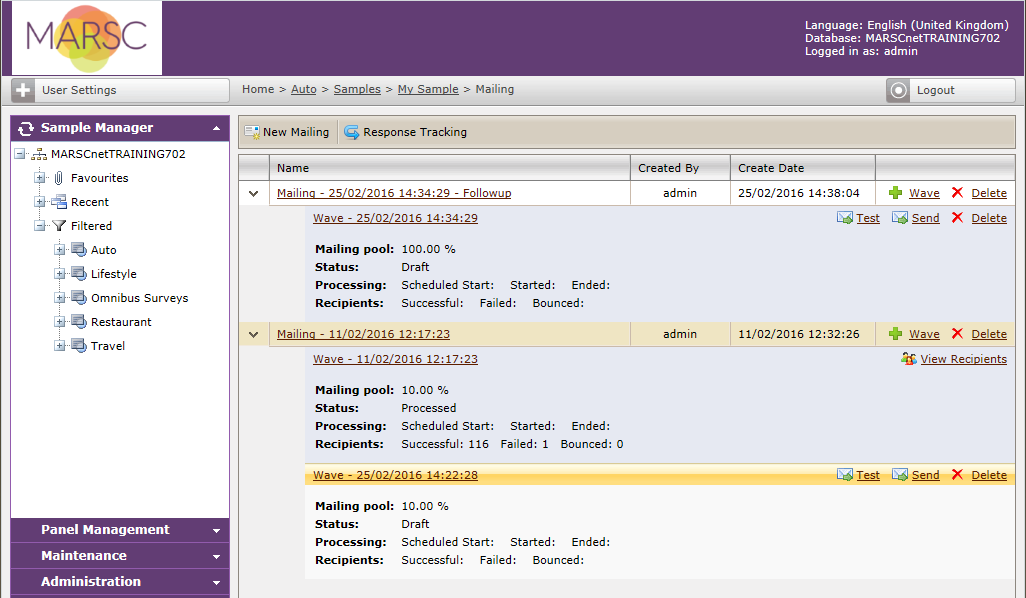
To create a brand new mailing for the sample, perhaps to send follow-up emails, click on New Mailing from the toolbar.
The New Sample Mailing screen will appear as before. Enter new mailing name, the filtering requirements, the first wave name and percentage of emails required. Create the email from scratch or open an existing template, and click on OK to save.

The new mailing and mailing wave will be added to the mailing screen with a status of Draft.
Delete a Mailing or Mailing Wave
A mailing can be deleted using the Delete button as long as it does not have any waves already queued or processed.
A mailing wave can be deleted while it is in a Draft status by clicking on the Delete button.